
Proper maintenance is a key factor in every branch because it costs expenses and prolongs the life of every machinery. Furthermore, it is necessary because of the safety.
The same principle is for dryer vents, as it is crucial to clean them, and for two main reasons. If you don’t check and do dryer vent cleaning for a long time, it can be clogged by dirt and lint, reducing its performance and increasing energy consumption. Blocking of the ducts means that hot air cannot escape the machine, and this causes overheating. Lint is highly flammable, and the heat from the device combined with lint can lead to a fire hazard. It can be dangerous because it can cause fire, and besides that, it can also be expensive because of high energy consumption.
Cleaning the dryer vent will improve its performance, minimize the amount of energy used and reduce the risk of fire outbreak. The great thing is that you will know precisely when it’s time to clean it, as it will show signs it needs to be cleaned, and some of them are; taking too long to dry clothes, dump clothes from it, and a burning smell in the drying room. These signs are not to be overlooked as something unimportant as doing so can cause many problems. When these signs appear, it is not a good idea to oversee them, and it is important to fix them as soon as possible. Once you decide to do dryer vent cleaning by yourself, these tips will come in handy, so take a look and Check more here.
1. Disconnect The Dryer
It is the first and most important thing to do, and even though it may sound silly that we mention it, you would be surprised how many people often forget about this first step.
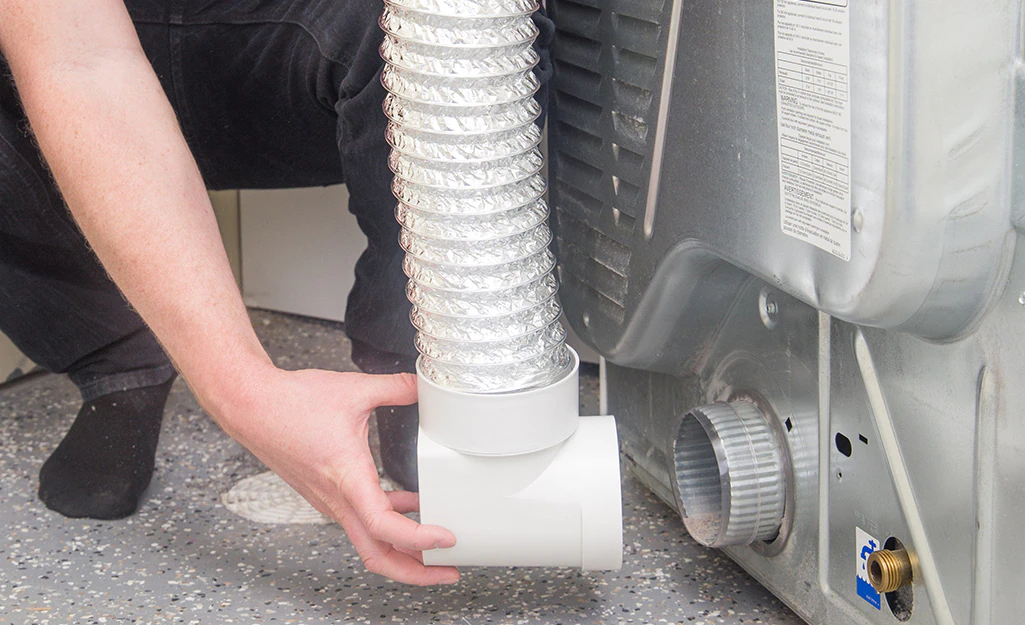
That is why, before doing anything else, your dryer vent cleaning process should start by turning off the power supply switch and then disconnecting it. Working on it when it is connected can lead to fatal electric shocks, which can be pretty dangerous for everyone in that room. Pull the dryer away from the wall to enable you to see the back well, where the vent is connected because it is the next step after disconnecting it from the electric network.
Remove the vent from the machine since it is impossible to clean it without doing it. A screwdriver will come in handy because it is necessary to unscrew the clamp, and it sometimes can be pretty challenging because of the material they are made of and also because of moisture. Furthermore, if the dryer hose is made of plastic or foil, it is advisable to replace it because plastic and foil tend to catch fire easily, and it is something that we all want to avoid.
2. Vacuum Out The Vent
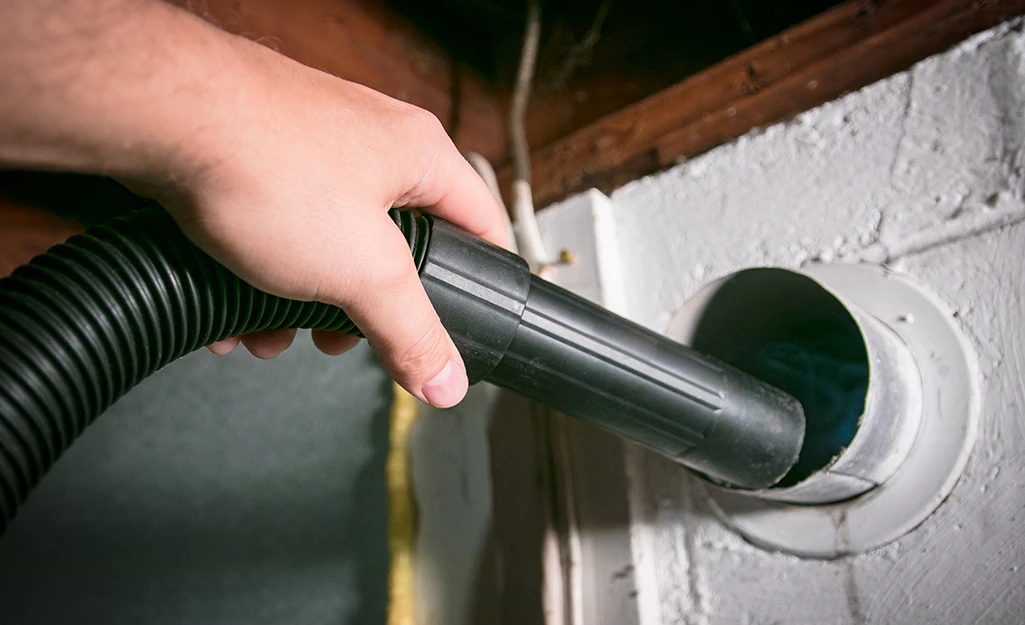
The second step in this process is vacuuming the vent. First, it is crucial to wear gloves and remove the lint by using a vacuum. The best way is to use the hose of a vacuum cleaner to suck in all the lint. Detaching the part of the vent that touches the wall will make all of this much easier, and we can do it without too much effort.
It is also possible to use your hands first to remove the lint, then go in with the vacuum, but the first option is much easier. Also, ensure you remove the vent cover on the outside of it. Use a vacuum to clean it from the outside since doing it only from the inside will not make it clean as it should be.
3. Brush The Vent
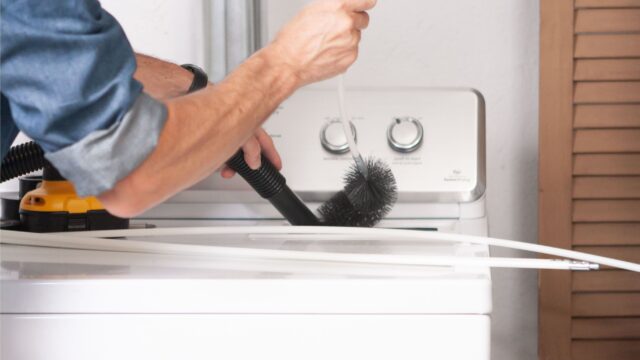
Some vents are too long in such a way that the vacuum cannot get to the farthest points to clean the lint. There is a solution for this too, and one can get brushes with long holding sticks and flexible bristles to clean the interior of the vent, and it is one of the best solutions. When you introduce the brush into the vent, move it back and forth to loosen it. It is a simple yet effective cleaning process that will guarantee that you have reached and cleaned every spot. Insert the brush as far as it can go and ensure all the dust is removed, which can be a pretty challenging task. When brushing the vents, start with gentle force and then a hard as the lint loosens since it is the only way to remove everything properly and make sure that everything is done in the right way. One can never be too sure and say precisely how much force you should use, as every dry vent is different.
4. Reconnect The Dryer
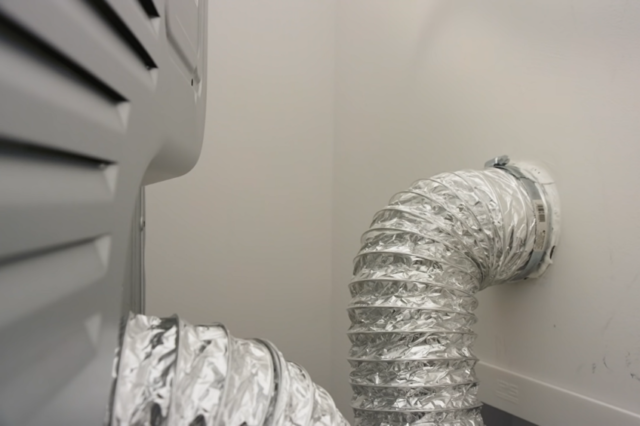
It is a final and understandable step in this process. Once you notice that all the lint is removed and the machine is clean, you can reconnect the dryer parts, but it is crucial to do it carefully. Also, ensure no parts of the system are damaged because even the small damage can cause a serious accident. Once again, it is not something that one should neglect as unimportant, as any dent or damage can only lead to more problems. After making sure everything is in order, return the vent cover and seal the sections of the ductwork with UL-listed metal foil duct tape and make sure that it is done properly.
Push the dryer to the wall and position it in the place it was before you started. Before that, ensure the area is clean to avoid dirt from returning to the dryer since forgetting that can lead to repeating the whole process very soon.
Connect the machine to the heat source and test it by running it for 15 to 20 minutes on an air-dry setting to ensure all the parts are in place. Another way to test i is to try it with some clothes to see if it is working well.
5. Prevent Lint Build-Up
Understandably, there are also many things one can do to prolong the life of their dry vents and make cleaning them much easier. Reducing the amount of dust and lint around it will reduce the number of times you need to repeat this process. Because of that, it is crucial to make sure that everything is done properly since no one likes to repeat this process over and over again without the results. To ensure this, practice the following tips;
- Ensure the drying room or area is always free from dust by sweeping it as doing so will stop dust from returning to the dryer. It may look like a boring job, but it will make things much easier for sure.
- Always clean the lint trap filter before drying your clothes. It is quick to do so, and lint will not build up in the system, forcing you to repeat this action frequently.
- Vacuum in and around the lint housing using the vacuum cleaner to avoid lint build-up.
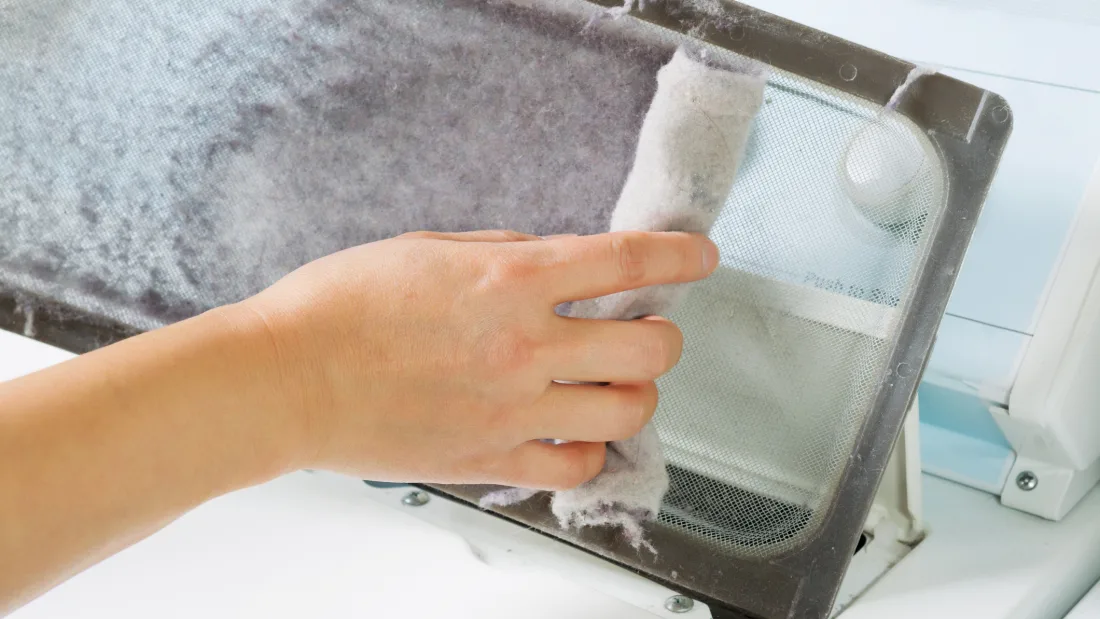
- Check to see if the lint screen is clogged. You can wash it using a scrub brush and warm soapy water. Rinse it with fresh water and use a towel to dry clean it.


")

")


