
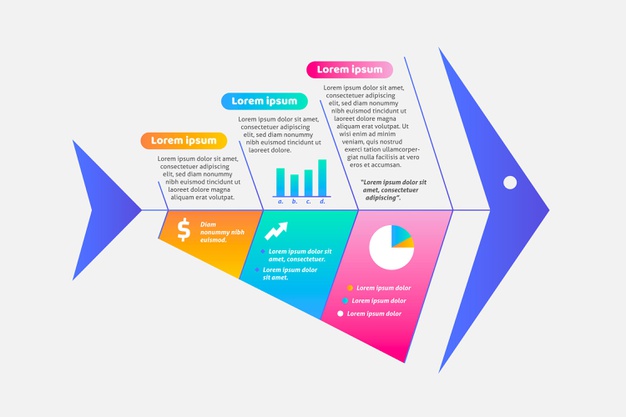
We use diagrams to calculate many things. One popular diagram form is the Fishbone or Cause and Effect diagram.
In short, these diagrams help us visually assess the possible causes and effects of a specific problem. We display the information in a way that we can also create relationships between these possible causes and effects.
There are many forms of this diagram out there, meaning it’s up to you as to which one you’ll be using. Do know that cause and effect diagrams are mainly implemented in the early stages, particularly when the team is coming up with possible problems to assess.
If you’re interested in understanding other applications and uses of the fishbone diagram, then you’re at the right place. In this article, we will give you specific examples about just that.
So with all that said, let’s start.
Examples of Cause and Effect Diagrams
While these diagrams are used to visually present the problem, it’s important to understand its uses and applications. To answer this question in short, we can use it for literally any problem we have.
Let’s come up with a simple scenario. The scenario in question will have to do with us losing control over our vehicle.
No number of reasons exist as to why we could lose control while driving. There could be a flat tire, a mechanical issue, a slippery road, or the error could be driver-related.
Any one of these could happen due to numerous reasons. There are dozens of reasons how we could get a flat tire that would result in us losing control over our car. The same goes for the slippery road, mechanical issues, or driver error.
This is where a cause and effect chart can come in handy. They’re so good at visually presenting the problem and analyzing the effects that it would be unwise not to implement them.
More so, the diagram can help you show the relationship between the cause and effect of each one of these.
Another Similar Type To Use
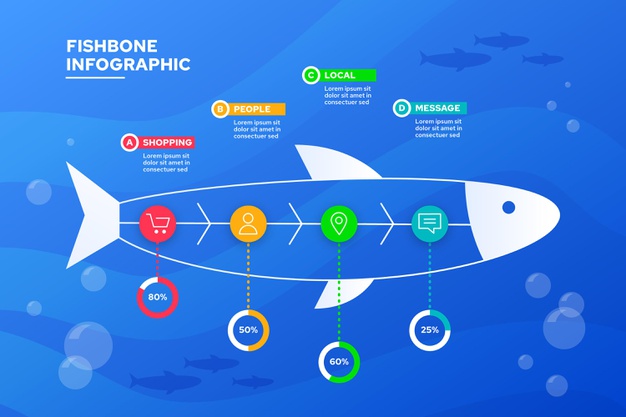
Cause and effect diagrams implement a particular visual style that resembles a fishbone. But there is also another diagram type that could work better for you.
This one is called the tree diagram. This one similarly presents the causes and effects, but this time you start from the top and go downwards.
While there is nothing much to separate these two but the way we visually present information, either one of these will come in handy when needing to assess a certain situation.
Fishbone charts are very popular and can be used with a number of applications that will help you convey information much easily. Microsoft Excel is one of the many programs that we can use to visually display the diagram in front of bosses and coworkers. And you don’t even have to do anything. Simply go over to cours-gratuit.com and get your Excel templates.
How To Create One
Let’s walk you through how exactly creating a fishbone diagram works.
First off, you will need to have an effect. This can be anything that isn’t too vague as it would make the whole analyzing process very difficult. Also, vague effects can bring with them irrelevant causes that would only clutter our diagram as opposed to doing any good.
Once you have your effect, place it at the end of a straight line that points towards it. You can put the effect in a rectangular box to show its importance.
The next step is the trickiest one as you’ll need to identify possible causes. This part of the creating process can be done in one of two ways. You could do a step-by-step approach or you could brainstorm for possible causes.
Since fishbone diagrams are a great tool when working in teams, the team leader can decide on which approach to take.
If you’re having a hard time coming up with causes for your problem, then you can remember the 4 W’s and use them as inspiration. The 4 W’s are What, Who, Where, Why. While these won’t solve the problem entirely, it is a good place to start nonetheless.
Once you’ve come up with a few causes for your problem, it’s now time to look up other causes for each one. For example, if a flat tire is a cause for losing control of the vehicle, you’ll need to look up what causes a flat tire.
This is the part of the diagram-making process that takes the most time doing as it involves plenty of brainstorming and coming up with ideas.
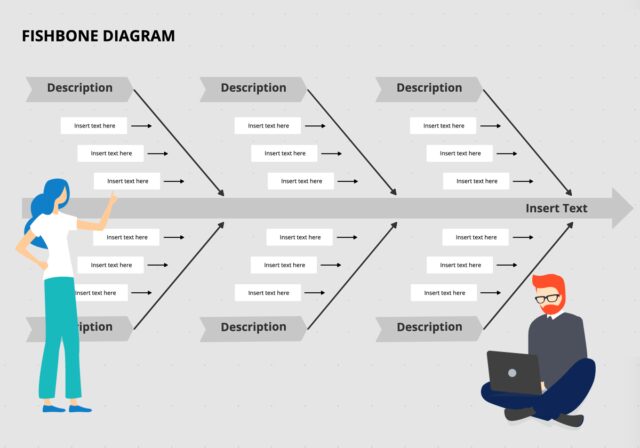
Once you’re all done with adding the causes of the effects, it’s now time to place it all on the chart itself. You’ll need to start adding each major cause first by drawing another line towards it and connecting it to the spine of the first line. Make sure to draw the line at an angle of around 70 degrees so it can resemble a fishbone. If you haven’t seen a fishbone diagram so far, things will start to look as they should once you draw all the major causes.
Next up, you’ll need to add a cause for each major cause. You can do this easily by drawing lines that connect with the line of each secondary cause at another angle of 70 degrees. These should be smaller lines but make sure to include the secondary cause at the end of it.
Conclusion
When looking at fishbone diagrams, you will see all kinds of lines being drawn. Complex fishbone diagrams look completely different as they include subsidiary causes. While we won’t get into that, it’s important to know that subsidiary causes complicate things further. In a complex layout with plenty of causes to major causes, subsidiaries can make things difficult to read or understand.
To finish things off, the fishbone diagram has applications and uses in all aspects of life. You can use them to assess business problems or life situations. This is what makes them so great.


